Rainwater Harvesting Basics
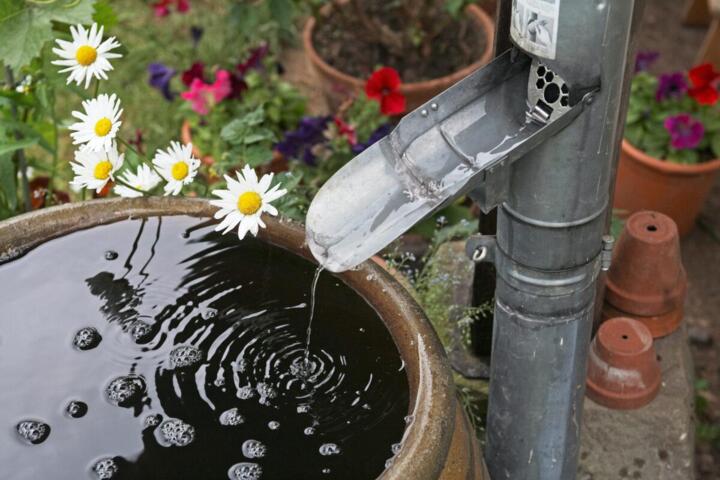
Rainwater harvesting collects precipitation from roofs and conveys it to a storage tank. The collected water often starts with low mineral content but can carry roof debris, bird droppings, pollen, and microbes from the first flush of rainfall.
A typical system includes a roof catchment, gutters and downpipes, a first-flush diverter, a leaf screen, a storage tank, and a treatment train when potable use is planned. For non-potable uses like irrigation, many households stop after basic screening and first-flush diversion, then manage taste and odor through simple maintenance.
For potable use, the treatment train usually adds filtration and disinfection, plus controls that prevent recontamination inside the tank. If you plan to drink the water, you also need a testing plan and a way to respond when results fail—because rainwater quality changes with weather and roof conditions.
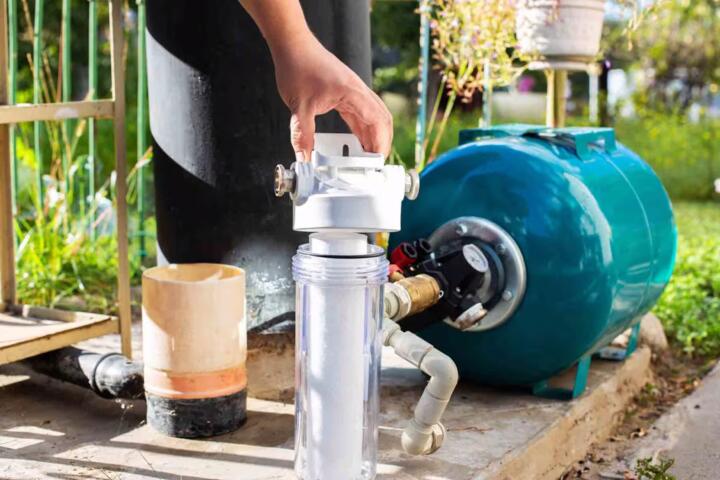
In practice, a small household system might draw from a 1,000–5,000 gallon tank, then pass water through a sediment filter and a disinfection step before it reaches a drinking tap. A larger setup may include multiple filtration stages, pressure control, and sampling ports that make testing less of a chore. I once saw a homeowner’s system where the tank had no sampling port; the lab samples had to be taken from a hose bib, which made results harder to interpret.
Main Problems And Pain Points
People often assume rainwater is automatically “clean” because it lacks the minerals of groundwater. Roof catchments can still introduce pathogens and contaminants, and the first rainfall after a dry spell can carry the highest microbial load.
Another frequent mistake is treating the tank as a passive container. Tanks can become a microbial reservoir if they warm up, accumulate sediment, or allow light and insects to enter. Even with filtration, biofilm can form on tank surfaces and on plumbing lines, and that biofilm can seed the water again after treatment.
Filtration and disinfection also depend on supporting technologies. A sediment prefilter reduces turbidity so disinfection works as intended; if turbidity stays high, ultraviolet (UV) systems lose effectiveness and chlorine can require higher doses. Water chemistry matters too: pH, alkalinity, and organic carbon influence chlorine demand and UV performance.
Finally, potability is not a single device feature. Potability depends on the whole chain: roof hygiene, first-flush diversion, tank sealing and cleaning, filtration media condition, disinfection contact time, and ongoing water testing. In the US, many states reference EPA guidance and local health department rules for drinking water systems, but requirements vary by jurisdiction and system size.
Solutions And Advice
Design The Collection And Tank
Start with collection hygiene. Use a roof material that sheds debris reasonably, keep gutters clean, and install a first-flush diverter so the initial runoff bypasses the tank. Screens on downpipes help with leaves and coarse debris, and a sealed, opaque tank reduces algae growth.
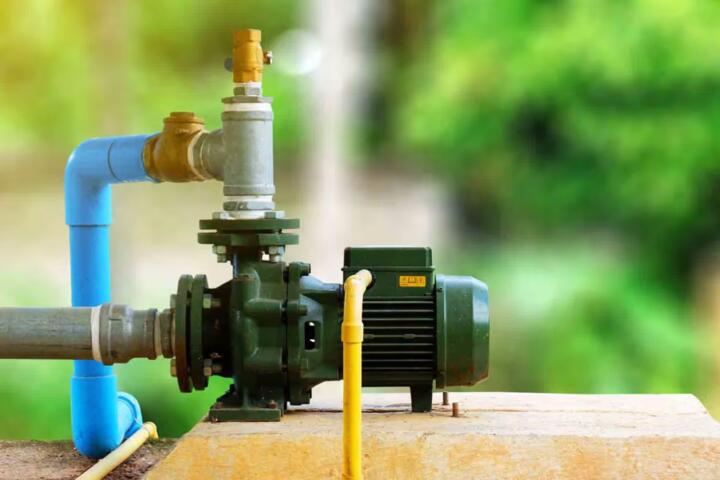
Tank design affects maintenance. A bottom drain for sediment removal helps you remove sludge before it becomes a biofilm source. If you use a pump, place intakes to avoid drawing settled sediment. For a small system, a monthly visual check of the tank interior through an access hatch can catch problems early, though access hatches must be sealed afterward to prevent contamination.
One practical aside: a diverter that sticks due to debris can fail silently. I’ve seen diverters that worked for months, then stopped after a roof cleaning left grit in the mechanism; a quick inspection after gutter cleanings can prevent that.
Choose Filtration Stages Carefully
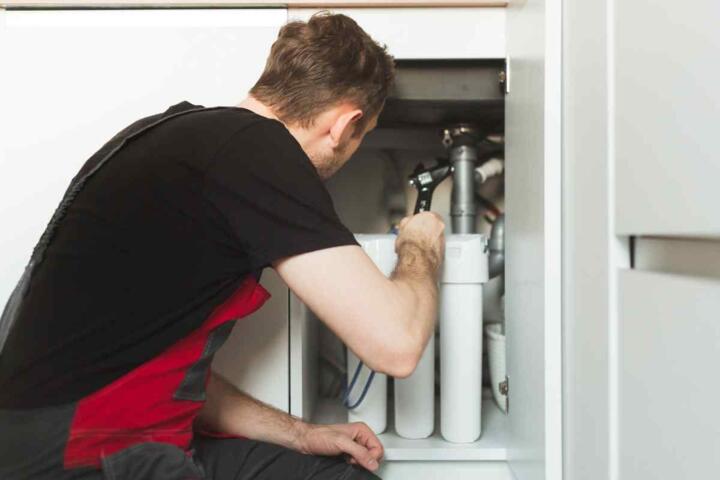
Filtration usually starts with sediment removal. A common approach uses a cartridge or bag filter rated around 10–50 microns for prefiltration, then a finer stage such as 1–5 microns before disinfection. The exact micron rating depends on your source turbidity and the disinfection method.
For taste and odor and for some chemical contaminants, activated carbon can help, but it does not replace disinfection for microbial safety. Carbon can also become a microbial growth surface if it stays wet and warm without proper flow and maintenance, so schedule media changes based on pressure drop and manufacturer guidance.
Membrane filtration (microfiltration or ultrafiltration) can produce very low turbidity water and can act as a physical barrier for many microbes. Membranes require careful operation, including periodic cleaning and monitoring of transmembrane pressure. If you see a system that skips membrane maintenance, the water may look clear while microbial risk rises due to biofouling.
Disinfect With Verified Contact
Disinfection targets microbes, not sediment. UV disinfection can be effective when water turbidity is low and the UV unit is sized for the flow rate. Chlorination can work too, but it requires managing chlorine dose and contact time, plus monitoring for taste and residual levels.
UV systems need regular cleaning of sleeves and verification of lamp output. Many UV units include a sensor and alarm, but alarms do not replace periodic performance checks. Chlorine systems need a way to measure residual and to avoid overdosing; high doses can increase taste issues and may react with natural organic matter.
In a household setup, a realistic outcome is that disinfection reduces microbial risk, but it does not guarantee potability without testing. A system that passes a microbial test once can fail later after a storm, a tank cleaning delay, or a filter change missed by a week.
Test For Potability And Track Trends
Testing turns “trust me” into data. For drinking water, many programs test for indicator bacteria such as E. coli and total coliform, and they may test for other parameters depending on local risk. Use a certified lab when possible, and sample from the drinking tap after treatment, not from the roof or tank inlet.
Set a schedule that matches your use pattern. After system start-up, after major maintenance, and after long periods of inactivity, test more frequently. During heavy rain seasons, consider additional sampling because first-flush events and tank turnover change water quality.
Keep records of filter changes, UV lamp replacement dates, chlorine dosing logs, and test results. A simple spreadsheet works, but include dates and flow conditions. I’ve seen cases where a filter was changed, then the owner forgot to note the date; later, a lab result raised questions, and the timeline could not be reconstructed.
Case Examples For Realistic Planning
Roof To Toilet With Basic Treatment
A family in a rural area installs a rainwater system for toilet flushing and laundry. They use a roof screen, a first-flush diverter, and a sealed 2,500-gallon tank with a bottom drain. They skip UV and chlorine because the water never enters drinking taps.
They still maintain the system: gutters are cleaned before the rainy season, the tank is drained and inspected once or twice per year, and the pump intake is checked for sediment. When they notice a musty odor, they inspect the diverter and confirm the tank stays sealed. Their outcome is stable non-potable performance, with no claims of potability.
Rainwater For Drinking With Testing
A small household uses rainwater for drinking and cooking. Their system includes a sediment prefilter, a finer filtration stage, UV disinfection, and a sealed tank with an opaque cover. They sample from the drinking tap and send results to a lab that tests for E. coli and coliform indicators.
After a roof replacement, they test again because new roofing materials and installation debris can change runoff quality. When results show no indicator bacteria, they continue the same maintenance schedule. When a later test shows a positive coliform indicator, they stop drinking from the system, inspect the UV unit for sleeve fouling, replace filters, and retest after corrective action.
Comparison Checklist For Potability
| Decision Point | Non-Potable Use | Potable Use | What To Verify |
|---|---|---|---|
| First-Flush Diverter | Often used to reduce debris | Used to reduce microbial spikes | Diverter works after dry spells |
| Tank Sealing | Helps with odor control | Reduces algae and recontamination | Opaque cover, sealed openings |
| Filtration | Sediment screen may suffice | Sediment + finer filtration | Turbidity low before disinfection |
| Disinfection | Usually not required | UV or chlorine with contact | Performance checks and residuals |
| Testing | Optional for comfort | Required for safety decisions | Indicator bacteria at drinking tap |
Step-by-step checklist for a potable system decision:
- Confirm your local rules for rainwater use and any permitting requirements for drinking water systems.
- Plan for a sealed, opaque tank with a drain and access for inspection.
- Add first-flush diversion and downpipe screening to reduce debris load.
- Use sediment filtration sized for your expected turbidity so UV or chlorine works as designed.
- Choose disinfection with measurable performance checks (UV sleeve cleaning schedule or chlorine residual monitoring).
- Sample from the drinking tap after treatment and retest after storms and maintenance.
- Write a “fail plan” that stops drinking use when indicator bacteria appear.
Common Mistakes That Undermine Safety
One common mistake is skipping the first-flush diverter or leaving it disconnected. That choice increases the chance that the tank receives the highest microbial load from roof dust and droppings.
Another mistake is relying on “clear water” as a safety proxy. Turbidity affects UV and chlorine performance, and some microbial contamination can occur without visible cloudiness. A lab result matters more than appearance.
People also forget that filters need maintenance. A clogged sediment filter can raise turbidity and reduce flow, which changes disinfection conditions. When pressure drops or flow slows, the system may still run, but the treatment train stops matching its design assumptions.
Some households treat the tank like a storage-only component and never remove sediment. Sludge at the bottom can release particles and microbes back into the water during pump cycles. If you hear a change in pump sound or see increased discoloration after storms, inspect the tank and the intake location.
Finally, many systems lack sampling ports. Without a sampling point after treatment, owners may collect samples from the wrong location, which makes results hard to interpret and can lead to unnecessary alarm or missed risk.
FAQ
Can Rainwater Be Safe To Drink?
Rainwater can be safe for drinking when the system includes appropriate filtration and disinfection, the tank stays sealed and clean, and lab tests from the drinking tap show no indicator bacteria. Safety depends on maintenance and testing, not on rainwater being “natural.”
What Filtration Micron Rating Works Best?
Micron targets depend on your disinfection method and source turbidity. Sediment prefiltration often uses tens of microns, followed by finer filtration before UV or chlorine, but the correct sizing comes from measured turbidity and manufacturer guidance for the treatment unit.
Does UV Disinfection Work With Cloudy Water?
UV performance drops when turbidity is high because particles shield microbes from UV light. Systems typically require prefiltration and monitoring so turbidity stays within the UV unit’s operating limits.
How Often Should Filters And UV Lamps Be Replaced?
Replacement intervals depend on water quality and flow. Sediment filters change based on pressure drop or scheduled intervals, while UV lamps follow manufacturer life ratings and require sleeve cleaning; a calendar alone can miss seasonal spikes in debris.
What Tests Should I Run For Potability?
For microbial safety, test for indicator bacteria such as E. coli and total coliform using a certified lab. Additional chemical tests may be warranted based on roof materials, local geology, and any known contamination sources.
Author's Insight
Rainwater harvesting becomes a health topic when the system crosses from non-potable uses into drinking water. The technical chain matters: first-flush diversion reduces initial loading, filtration controls turbidity, and disinfection targets microbes, while tank hygiene prevents recontamination.
Most failures trace back to maintenance gaps such as clogged prefilters, fouled UV sleeves, or sediment buildup in the tank. Testing closes the loop by showing whether the treatment train matches real conditions after storms and repairs.
Because local regulations vary, readers should confirm requirements with their health department or water authority before labeling water as potable. A practical approach uses a written maintenance log and a “stop drinking” rule when indicator bacteria appear.
Key Takeaways
- Rainwater quality changes with weather and roof conditions, so potability requires a treatment chain plus testing.
- Tank sealing, first-flush diversion, and sediment management reduce the microbial and debris load before disinfection.
- Filtration supports disinfection performance; cloudy water can reduce UV effectiveness and increase chlorine demand.
- Use lab tests from the drinking tap and keep maintenance records to interpret results over time.
- Plan for failures: stop drinking use when indicator bacteria appear, correct the system, and retest.