How Raised Beds Change
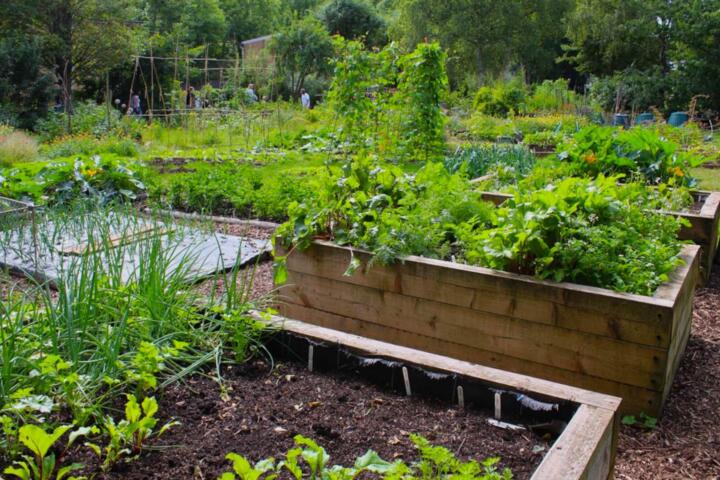
Raised beds shift gardening from “planting into existing ground” to “growing in a defined soil volume.” That change affects root temperature, drainage rate, and how quickly nutrients move through the root zone. A typical raised bed also changes your daily workflow because you can reach the soil from the sides, which often reduces bending and stepping on planting areas.
In practice, the soil depth matters. Many vegetables perform better when roots have consistent depth and moisture access, especially in yards with compacted subsoil or patchy topsoil. A bed that is 10–12 inches deep can support many leafy greens and most herbs, while deeper beds (18 inches or more) help crops with longer rooting habits. The bed height also influences how fast the soil warms in spring; darker, well-mulched soil in a sunlit bed often warms earlier than surrounding ground.
Raised beds also change weed pressure. You still get weeds, but the weed seed bank in the bed soil depends on what you bring in and how you manage mulch. If you use clean compost and avoid dumping unknown topsoil, you can reduce the “mystery weed” problem that comes from digging into disturbed ground.
Main Problems And Pain
People often expect raised beds to fix every gardening problem, then blame the bed when the real issue is soil mix, drainage, or plant spacing. A bed filled with the wrong texture can hold water too long or drain so quickly that watering becomes constant. If the bed soil is mostly fine clay, it may stay saturated after rain; if it is mostly sand, it may dry out before roots can access moisture.
Another frequent misunderstanding involves “soil depth equals plant health.” Depth helps, but aeration and structure matter just as much. Roots need pore space for oxygen, and repeated compaction from stepping into beds or working soil when it is wet can collapse those pores. The bed may look tidy, yet roots can struggle because the soil structure has been damaged.
Raised beds also create dependencies. Your results depend on the soil you buy, the compost quality, and the mulch you choose. They also depend on irrigation method. A drip line placed too shallow or with emitters spaced too widely can leave parts of the bed under-watered, and the unevenness shows up as patchy growth.
Solutions And Advice
Choose Bed Height And Size
Start with a practical bed footprint that matches your reach. Many gardeners build beds 3–4 feet wide so you can reach the center from both sides without stepping in. For height, 10–12 inches suits many greens and herbs, while 18 inches supports deeper-rooted crops like some tomatoes and peppers, assuming the soil mix drains well. If you plan for wheelbarrow access, leave a path width that lets you move materials without scraping the bed edges.
A small aside from planning spreadsheets: on a 2026-03-14 build I reviewed for a neighbor, the biggest “oops” was underestimating path width by 6 inches, which later made watering and compost delivery annoying. That kind of friction often leads to skipped maintenance, and skipped maintenance shows up as weeds and uneven moisture.
Build Soil With Structure
Use a soil mix that balances drainage and water-holding. A common approach is to combine compost with a mineral component such as topsoil or a loam, then add coarse material if the bed tends to stay wet. Avoid pure bagged “potting mix” as the only ingredient for large beds; many mixes are designed for containers and may dry quickly or lack enough mineral fraction for long-term bed stability.
Test drainage before planting. After watering thoroughly, observe how long it takes for surface water to disappear. If water sits for hours, the bed likely needs more coarse fraction or a different base layer. If the bed dries within a day during warm weather, you may need more water-holding material and a thicker mulch layer.
For tools, a basic moisture meter can help you learn patterns, but it rarely replaces observation. A cheap probe reading that stays “dry” while plants look fine usually means the meter is not calibrated for your mix, which is why you should pair readings with a finger test 2–3 inches down.
Plan Irrigation And Mulch
Raised beds often benefit from drip irrigation because it targets water to the root zone and reduces wetting of leaves. If you use drip, place emitters so the wetted area overlaps across the bed width. For example, a 4-foot-wide bed with two drip lines can work better than one line placed in the center, depending on emitter spacing and soil texture.
Mulch changes evaporation and soil temperature. A 1–2 inch layer of shredded leaves, straw, or fine bark can reduce surface drying. Keep mulch a small distance away from plant stems to reduce rot risk. If you use plastic mulch, manage heat carefully; raised beds warm faster, and plastic can push soil temperatures higher than you expect.
When you water, water deeply enough that moisture reaches the root zone, then wait until the bed partially dries. Frequent shallow watering trains roots near the surface, which makes plants more sensitive to heat stress.
Manage Weeds And Soil Disturbance
Weed control starts before planting. Remove perennial weeds from the bed area before construction, and avoid bringing in contaminated soil. After planting, use mulch and hand-weeding early while weeds are small. Once weeds are established, pulling them from a bed can disturb the soil structure and bring up more seeds.
Limit compaction by keeping foot traffic off the planting area. If you must work inside the bed, use a board to spread your weight. Many gardeners also avoid digging every season; repeated tilling breaks soil aggregates and can reduce aeration over time.
A mild frustration many gardeners hit: the first season looks great, then the second season gets “messy” because the bed soil is worked too often. A less disruptive approach—top-dressing with compost and loosening only where needed—often keeps structure more stable.
Case Examples
Shallow Bed For Greens
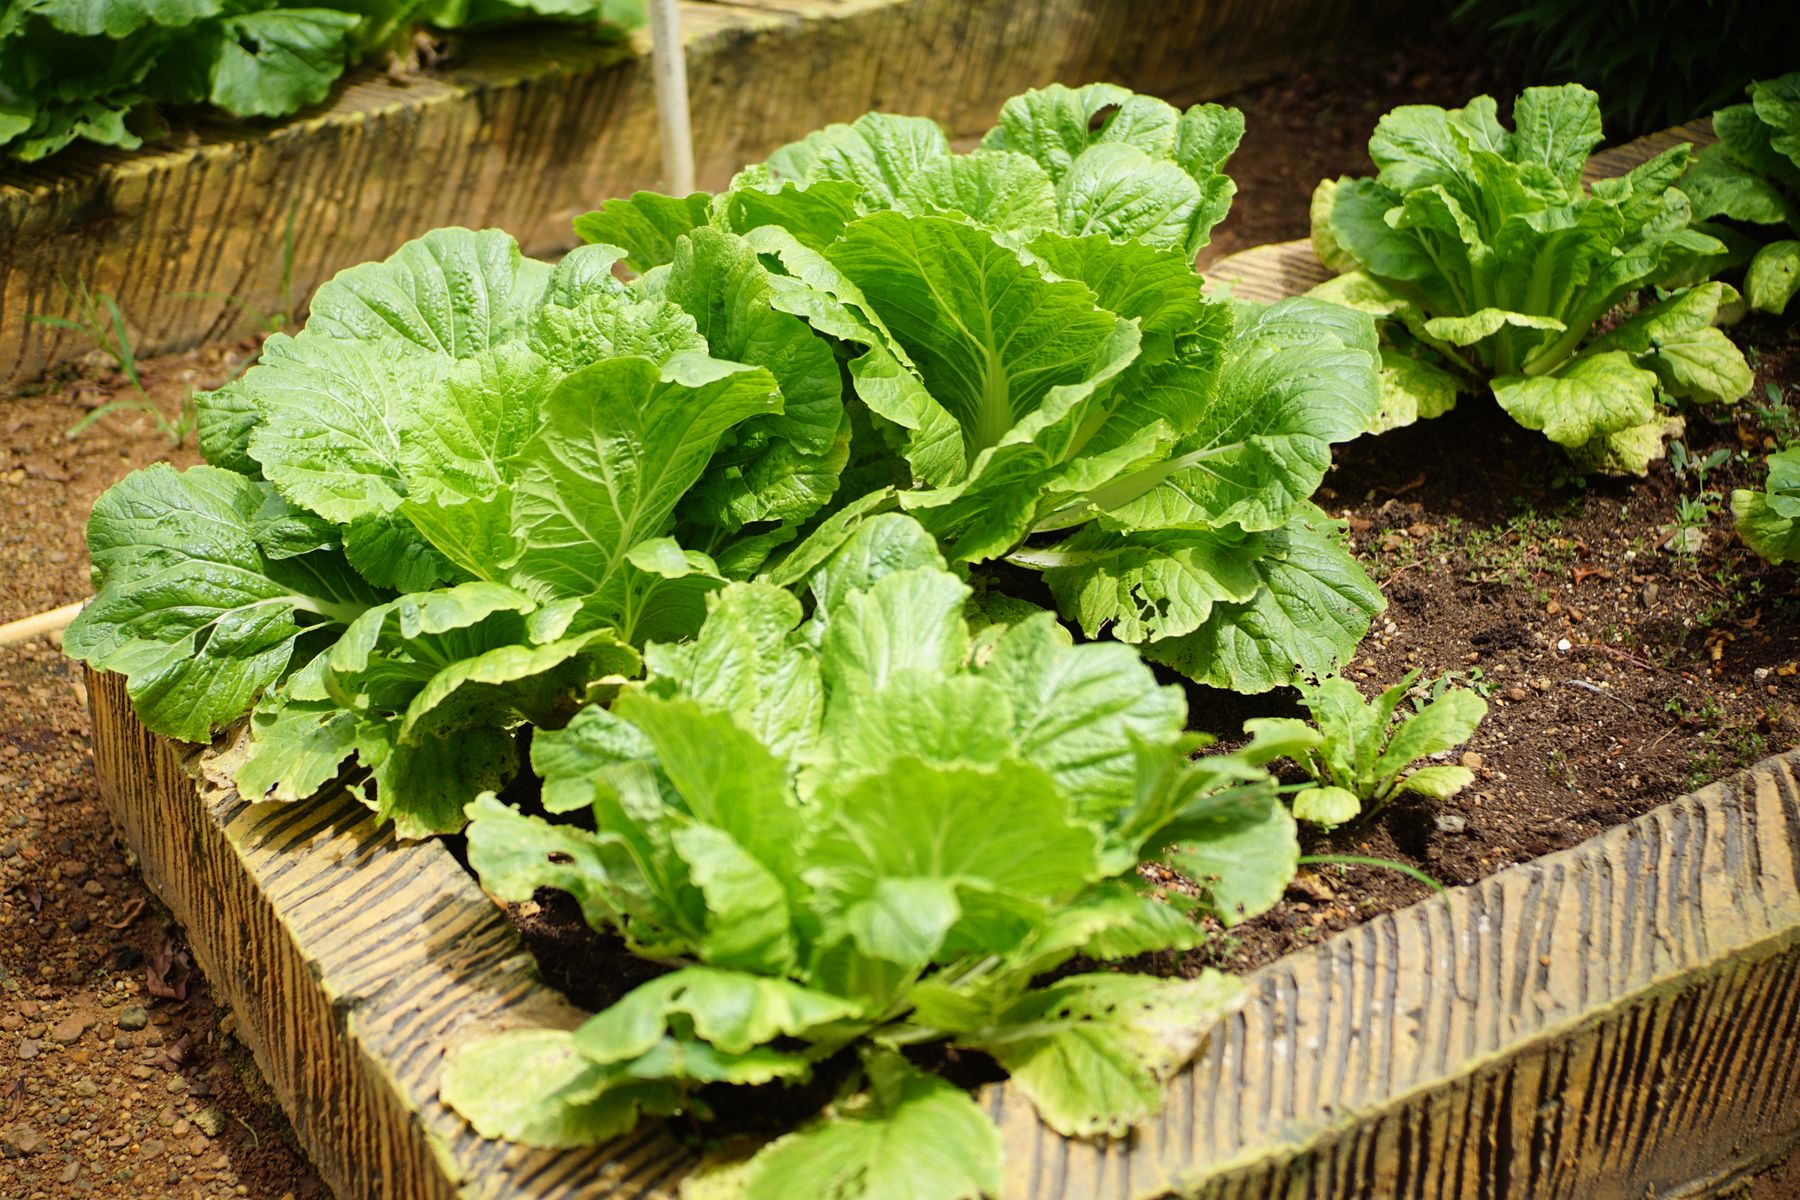
An anonymized scenario: a gardener builds two 12-inch raised beds for lettuce, spinach, and arugula. The beds sit in full sun and use drip irrigation with emitters spaced 12 inches apart. In week three, growth slows in one corner because that corner dries faster; the gardener adjusts by adding a short third drip line segment and increases mulch thickness from about 1 inch to 2 inches. Harvest becomes more uniform after the moisture pattern matches the root zone needs.
The lesson is not that raised beds fail, but that bed soil and irrigation distribution must match. Even a well-built bed can show patchy performance if the water pattern does not cover the whole planting area.
Deeper Bed For Tomatoes
Another scenario: a family installs an 18-inch bed for tomatoes and peppers. They fill it with a mix heavy on compost and topsoil, then skip a drainage check. After heavy rain, the bed stays wet for a long time, and the plants show yellowing and slow growth. The gardener improves drainage by mixing in coarse material and adding a better mulch layer to reduce surface sealing, then waits for the bed to dry before further planting. Once drainage and aeration improve, the plants recover and fruiting begins on a more typical schedule for their region.
This example highlights a common dependency: raised beds change drainage behavior, but they do not guarantee it. Soil texture and base conditions still control oxygen availability around roots.
Comparison Table And Checklist
| Decision Point | Raised Bed Tends To Help | Raised Bed Can Still Fail | What To Check First |
|---|---|---|---|
| Soil moisture | More predictable root zone when mix is balanced | Dries too fast or stays saturated if texture is off | Drainage after watering; mulch thickness |
| Weed pressure | Less seed bank from surrounding ground | Weeds still arrive via wind and contaminated soil | Use clean compost; mulch early |
| Root depth | Better access to consistent depth | Shallow beds limit deep-rooted crops | Match bed depth to crop type |
| Workability | Less stepping on soil; easier reach | Compaction from foot traffic inside beds | Keep weight off planting area |
- Measure your reach and set bed width so you can work without stepping in.
- Choose bed height based on crops, then confirm drainage with a test watering.
- Build a soil mix with compost plus mineral fraction; avoid relying on one bagged product.
- Plan irrigation coverage before planting; drip placement matters more than people expect.
- Apply mulch early and keep it off plant stems.
- Scout weekly for weeds and pests; beds do not stop infestations.
Common Mistakes
One mistake is filling beds with unknown topsoil. Even if it looks dark and fertile, it can contain weed seeds, construction debris, or uneven texture that creates wet pockets. Another mistake is treating the bed like a container and over-fertilizing. Raised beds hold more soil than pots, so nutrient release patterns differ, and excess nitrogen can drive leafy growth at the expense of fruiting.
People also skip drainage checks. If the bed sits on compacted ground or a layer that restricts water movement, the bed can behave like a shallow basin. The result is root stress that looks like “nutrient deficiency,” which leads to more fertilizer and a worse situation.
Compaction is another recurring issue. Stepping into beds to weed or harvest compresses the soil, especially when the soil is wet. That compression reduces oxygen in the root zone, and plants respond with slow growth and shallow rooting.
Finally, gardeners sometimes ignore seasonal soil settling. After the first fill, the soil level drops as materials settle and organic matter decomposes. If you do not top-dress with compost, the bed can end up shallower than planned, which changes moisture retention and root access.
FAQ
How Deep Should A Raised Bed Be?
Depth depends on crops. Many greens and herbs do well around 10–12 inches, while deeper-rooted crops often benefit from 18 inches or more, assuming the soil mix drains well.
Do Raised Beds Warm Up Faster?
They often warm earlier because the soil volume is exposed and can drain and dry quickly. Mulch choice and sun exposure affect warming, and plastic covers can raise soil temperatures further.
What Soil Mix Works Best?
A mix that balances compost with mineral content tends to perform better than compost-only or potting-mix-only approaches. The best mix depends on your local soil texture and how quickly your bed dries.
How Often Should I Water A Raised Bed?
Water frequency depends on weather, bed size, soil texture, and mulch. A practical approach is to water deeply, then wait until the top few inches begin to dry before watering again.
Can I Use Compost As The Only Ingredient?
Compost-only beds can drain and dry unpredictably and may settle unevenly. Many gardeners blend compost with mineral soil or other structural components to keep pore space and moisture behavior stable.
Author's Insight
Raised beds change gardening mainly by redefining the root environment: soil depth, drainage behavior, and aeration. Those factors determine how plants access water and oxygen, which then controls growth speed and stress tolerance. The most reliable results come from matching bed depth and soil texture to the crops, then pairing that with irrigation coverage and consistent mulch.
Evidence-based gardening guidance often emphasizes soil structure and moisture management over “magic mixes.” If a bed underperforms, the likely causes are uneven watering, compaction, or a soil mix that drains too fast or stays saturated. A careful troubleshooting routine—checking drainage after watering, inspecting root health, and observing moisture patterns—usually identifies the limiting factor faster than adding more fertilizer.
Key Takeaways
- Raised beds improve predictability when soil depth, texture, and drainage match the crops.
- Weeds and pests still show up; mulch and scouting remain part of the system.
- Drip placement and mulch thickness often determine whether growth is uniform across the bed.
- Compaction from stepping in beds can undo the benefits, especially when soil is wet.
- Plan for soil settling after the first fill and top-dress to keep the intended depth.